 |
| Use both Positive and Negative Space from Die Cutting!
Last weekend Tim Holtz's BigZ Leaf Die and Texture Fades Embossing Folder arrived in my mailbox, just in time for the fall cards I like to send to my family and friends. When Simon Says Stamp's Wednesday blog challenger arrived in my mailbox, just in time for the fall cards I like to send to my family and friends. When Simon Says Stamp's Wednesday blog challenge was to use watercolor this week, including Distress, I jumped at the chance. So I sat down to make a few cards. Well, a few more than a few! When I got started, I couldn't seem to quit until 1 AM. Of all the leaf dies, this one has become my favorite one. It is so fun to see what my scribbles on the paper reveal when the leaf is die cut. Each one, like in nature, is different.
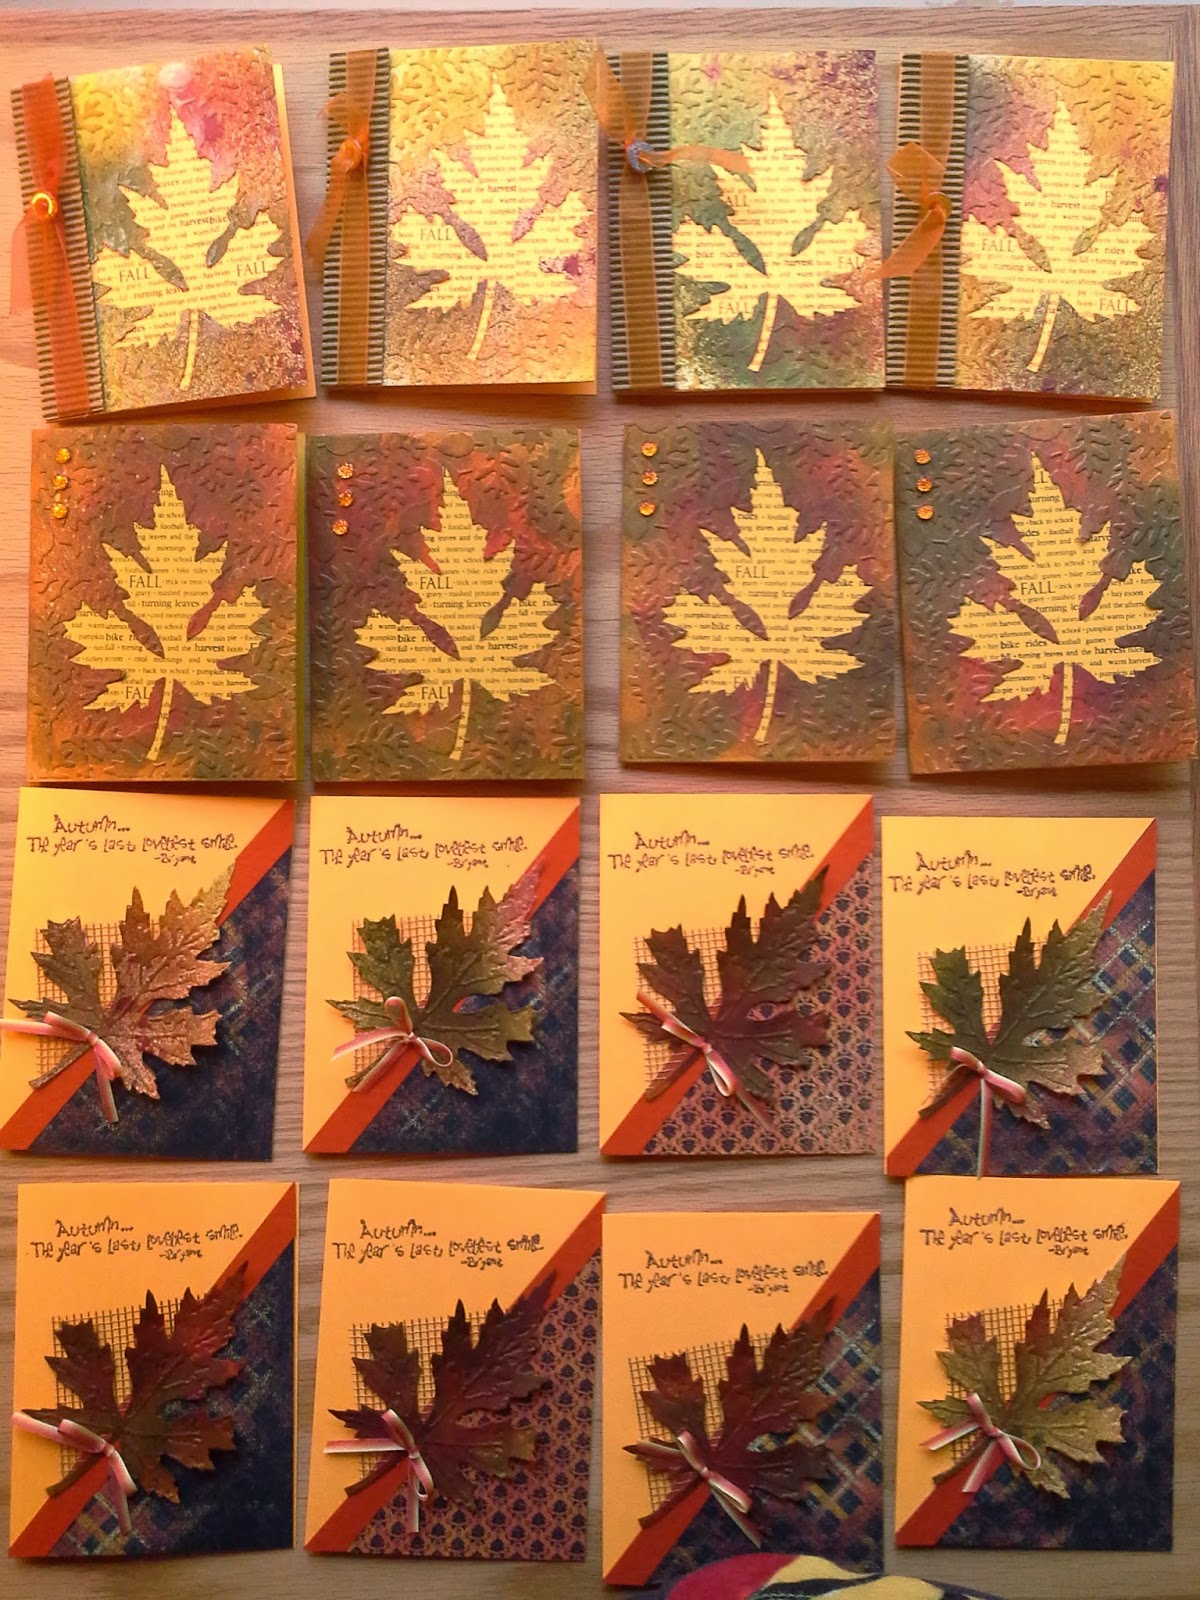
I quartered two pieces of cardstock, one sort of orangey-gold, the other ivory, and then proceeded to color them randomly with Distress stains. The darker cardstock I used the Distress daubers and applied random squiggles and dots with Festive Berries, Crushed Olive, Spiced Marmalade, and Wild Honey. The ivory cardstock received only a spritz of Distress stains mixed with water, using the following colors: Fired Brick, Forest Moss, and Mustard Seed. While I was spritzing, I also spritzed a little on the first batch. I wasn't impressed with the first batch until I die cut the leaves. Wow. What an amazing thing! These leaves resemble turning leaves more than any I have ever made! And the negative space that is left demanded to be used on a card as well! The second batch was just about perfect to me!
So I took another Tim Holtz Texture Fades with small leaves on it and ran that negative space through my Vagabond. After all the embossing was finished, I applied Brushed Corduroy Distress Ink with the Inkssentials Blending Tool on the raised areas. Next step, I spritzed the leaves and the negative spaces with gold spray mist to give them all a warm shimmer.
I have an old Hero Arts stamp with fall-related words on it, so using a stamp positioner, I was able to stamp those words repeatedly on the backing card, revealing them through the hole left behind from die cutting the leaf. I love this! Above you can see one of each card I made with these magnificent leaves and their negative spaces. Other items used on these cards are some corrugated cardstock rubbed with Distress ink to blend with the card, patterned paper cut on the diagonal, cardstock, ribbon, magic mesh, and orange goosebumps.
The photo below shows the results from one long evening spent in my studio! The first row shows the negative space from the leaves that were just spritzed onto cream cardstock. The second row was the orangey-gold cardstock with the Distress Stain Daubers and Distress spritzing. The third and fourth rows show the various leaves obtained with both methods.
|
A place to share my love of art, from paper crafting to watercolor, ideas, techniques and beyond!
Thursday, October 9, 2014
More Fall Cards with Distress!
Subscribe to:
Post Comments (Atom)

Wow! You really got a lot done! These look great! Thanks so much for playing along with the Watercolor Challenge on the Simon Says Stamp Wednesday Challenge Blog!
ReplyDeleteThanks. I enjoyed every minute of the project! Plus I now have lots of cards for friends and family!
DeleteThese are beautiful. I love the colors. Thank you for the inspiration
ReplyDelete